前言
版本4.27
发现在打包后在iOS端,使用iOS自带的中文输入法输入文本之后,如果使用的是嵌入式虚拟键盘

如上图所示,勾选上之后不会出现带有ok和cancel的弹窗,直接在虚拟键盘上方有一个长方形的输入框
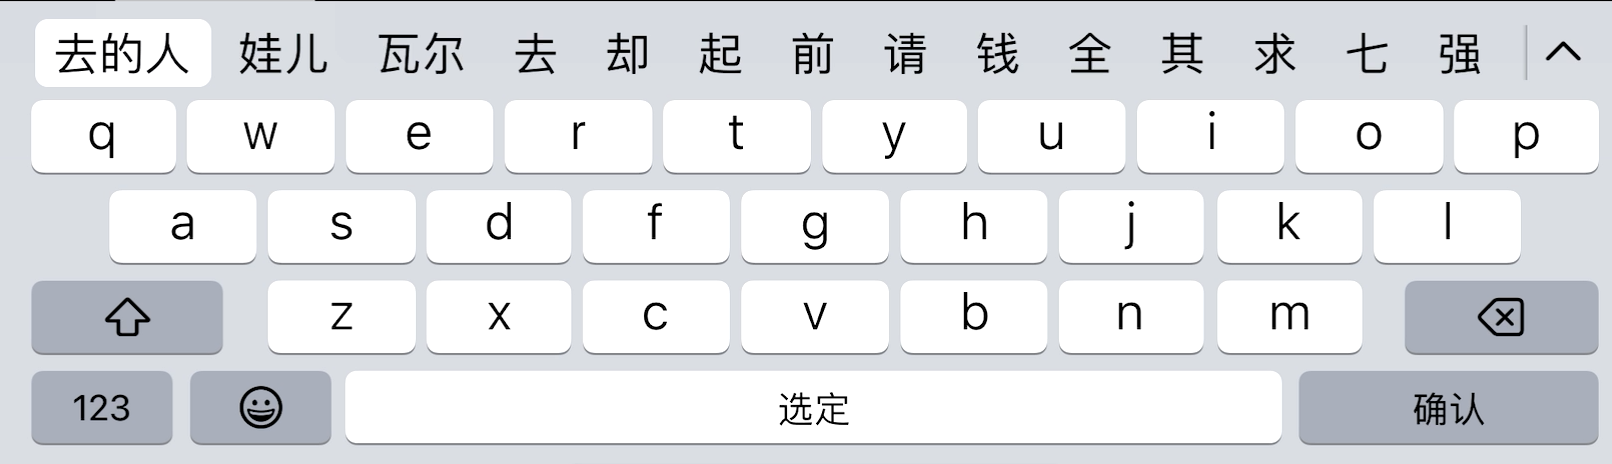
在这种情况下,无论是点击右下角的确认完成输入,还是点击任何非键盘区域隐藏软键盘之后,touch事件都会出现问题,后面的按钮可点击间隔时间会变的很长
取消勾选相面的选项之后,会变成如下图这样:
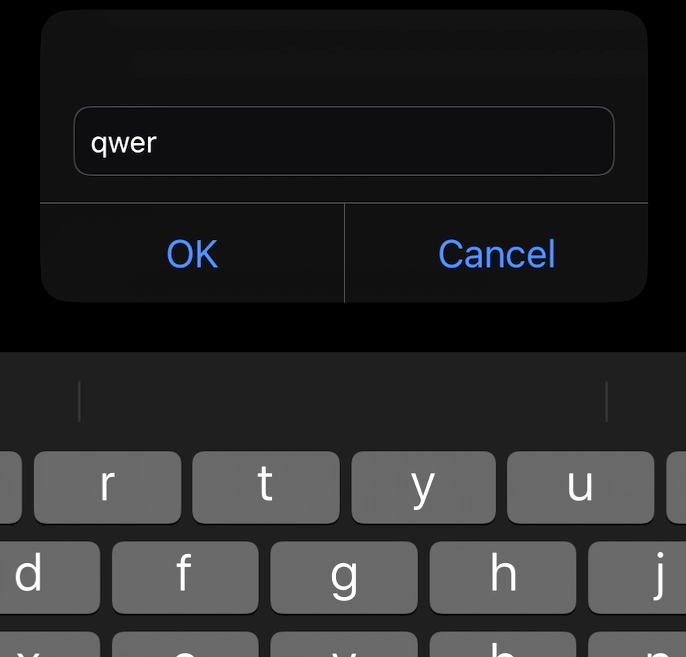
在这种情况下,只有点击ok或者是cancel才可以收起键盘,这种情况不会造成点击事件出现问题。但是这种模式也存在缺点,布局在部分情况下是完全不够用的,输入框太短,并且收起键盘只能使用按钮
在确认了嵌入式软键盘确实有问题之后,决定首先想办法在有弹窗的模式下对布局进行自定义
4.27原始代码
UE4.27 IOSPlatformTextField.h
1
2
3
4
5
6
7
8
9
10
11
12
13
| @interface SlateTextField : UIAlertController
{
TWeakPtr<IVirtualKeyboardEntry> TextWidget;
FText TextEntry;
bool bTransitioning;
bool bWantsToShow;
NSString* CachedTextContents;
NSString* CachedPlaceholderContents;
FKeyboardConfig CachedKeyboardConfig;
UIAlertController* AlertController;
}
|
上面这段代码的最后一个变量AlertController,就是iOS原生的弹窗:UIAlertController
他提供了一些基本的方法,比如设置标题,设置内容,设置按钮等等,比如UE4中的代码IOSPlatform.cpp:
1
2
3
4
5
6
7
8
9
10
11
12
13
14
15
16
17
18
19
20
21
22
23
24
25
26
27
28
29
30
31
|
AlertController = [UIAlertController alertControllerWithTitle : @"" message:@"" preferredStyle:UIAlertControllerStyleAlert];
[AlertController addAction: okAction];
[AlertController addAction: cancelAction];
[AlertController
addTextFieldWithConfigurationHandler:^(UITextField* AlertTextField)
{
AlertTextField.clearsOnBeginEditing = NO;
AlertTextField.clearsOnInsertion = NO;
if (TextWidget.IsValid())
{
AlertTextField.text = TextContents;
AlertTextField.placeholder = PlaceholderContents;
AlertTextField.keyboardType = KeyboardConfig.KeyboardType;
AlertTextField.autocorrectionType = KeyboardConfig.AutocorrectionType;
AlertTextField.autocapitalizationType = KeyboardConfig.AutocapitalizationType;
AlertTextField.secureTextEntry = KeyboardConfig.bSecureTextEntry;
}
}
];
|
以上就是UE4.27中iOS键盘相关部分的代码,原本想着是稍微改一下,经过搜索(毕竟没有接触过iOS开发)后发现,作为基本的UIAlertController,他并不能支持随意的自定义布局,比如按钮位置、输入框尺寸和位置等。
修改代码
经过查找资料,发现其实自定义一个类似的UIAlertController并不难,只需要继承UIViewController:
1
2
3
4
5
6
7
8
9
10
11
12
13
14
15
16
17
18
19
20
21
22
23
24
25
26
27
28
29
30
31
32
33
34
35
36
37
38
39
| /**
* @brief 自定义文本框视图控制器
*/
@interface CustomTextFieldViewController : UIViewController
// 文本框
@property (strong, nonatomic) UITextField *textField;
// 文本框宽度
@property (assign, nonatomic) CGFloat textWidth;
// 文本框高度
@property (assign, nonatomic) CGFloat textHeight;
// clearsOnBeginEditing
@property (assign, nonatomic) BOOL clearsOnBeginEditing;
// clearsOnInsertion
@property (assign, nonatomic) BOOL clearsOnInsertion;
// 文本内容
@property (strong, nonatomic) NSString *text;
// placeholder
@property (strong, nonatomic) NSString *placeholder;
// keyboardType
@property (assign, nonatomic) UIKeyboardType keyboardType;
// autocorrectionType
@property (assign, nonatomic) UITextAutocorrectionType autocorrectionType;
// autocapitalizationType
@property (assign, nonatomic) UITextAutocapitalizationType autocapitalizationType;
// secureTextEntry
@property (assign, nonatomic) BOOL secureTextEntry;
// okAction 点击ok按钮之后的回调
@property (nonatomic, copy) void (^okAction)(void);
// cancelAction 点击cancel按钮之后的回调
@property (nonatomic, copy) void (^cancelAction)(void);
// okButton ok按钮
@property (strong, nonatomic) UIButton *okButton;
// cancelButton cancel按钮
@property (strong, nonatomic) UIButton *cancelButton;
// backgroundButton 背景按钮,用于点击背景收起键盘
@property (strong, nonatomic) UIButton *backgroundButton;
@end
|
上面的代码是自定义文本字段视图控制器的Objective-C接口。定义了许多属性,可以用来自定义文本字段的行为和外观。
textField属性是对实际文本字段对象的引用,该对象将显示在屏幕上。textWidth和textHeight属性允许设置文本字段的大小。
后面的那些是UE原本都要设置的,这里就不多说了。
定义了回调块,可用于响应用户操作。当用户点击“OK”按钮时,将调用okAction,而当用户点击“Cancel”按钮时,将调用cancelAction。
加了一个背景按钮,用于点击背景收起键盘。
下面是实现部分:
1
2
3
4
5
6
7
8
9
10
11
12
13
14
15
16
17
18
19
20
21
22
23
24
25
26
27
28
29
30
31
32
33
34
35
36
37
38
39
40
41
42
43
44
45
46
47
48
| - (void)viewDidLoad
{
[super viewDidLoad];
// 获取屏幕的大小
CGRect screenRect = [[UIScreen mainScreen] bounds];
// 创建textField
self.textField = [[UITextField alloc] initWithFrame:CGRectMake(10, 10, self.textWidth, self.textHeight)];
self.textField.clearsOnBeginEditing = self.clearsOnBeginEditing;
self.textField.clearsOnInsertion = self.clearsOnInsertion;
self.textField.text = self.text;
self.textField.placeholder = self.placeholder;
self.textField.keyboardType = self.keyboardType;
self.textField.autocorrectionType = self.autocorrectionType;
self.textField.autocapitalizationType = self.autocapitalizationType;
self.textField.secureTextEntry = self.secureTextEntry;
self.textField.borderStyle = UITextBorderStyleRoundedRect;
self.textField.layer.zPosition = 1;
[self.textField becomeFirstResponder];
[[NSNotificationCenter defaultCenter] addObserver:self selector:@selector(keyboardWillShow:) name:UIKeyboardWillShowNotification object:nil];
// 创建okButton
self.okButton = [UIButton buttonWithType:UIButtonTypeSystem];
[self.okButton setTitle:@"完成" forState:UIControlStateNormal];
[self.okButton setTitleColor:[UIColor blackColor] forState:UIControlStateNormal];
[self.okButton setBackgroundColor:[UIColor whiteColor]];
[self.okButton addTarget:self action:@selector(okButtonTapped:) forControlEvents:UIControlEventTouchUpInside];
[self.view addSubview:self.okButton];
// 创建cancelButton
self.cancelButton = [UIButton buttonWithType:UIButtonTypeSystem];
[self.cancelButton setTitle:@"取消" forState:UIControlStateNormal];
[self.cancelButton setTitleColor:[UIColor blackColor] forState:UIControlStateNormal];
[self.cancelButton setBackgroundColor:[UIColor whiteColor]];
[self.cancelButton addTarget:self action:@selector(cancelButtonTapped:) forControlEvents:UIControlEventTouchUpInside];
[self.view addSubview:self.cancelButton];
// 创建背景按钮
self.backgroundButton = [UIButton buttonWithType:UIButtonTypeCustom];
self.backgroundButton.backgroundColor = [UIColor clearColor];
[self.backgroundButton addTarget:self action:@selector(cancelButtonTapped:) forControlEvents:UIControlEventTouchUpInside];
[self.view addSubview:self.backgroundButton];
// 将textField添加到视图中显示
[self.view addSubview:self.textField];
}
|
viewDidLoad在视图控制器将其视图层次结构加载到内存中后调用。此方法通常用于执行视图加载后所需的任何附加设置,例如设置用户界面元素或初始化数据。
viewDidLoad方法在视图控制器的生存期内只调用一次,并且在调用视图控制器的loadView方法后调用。这意味着在调用viewDidLoad时,视图控制器的视图层次结构已经加载到内存中。
上面这段代码把该有的元素都创建出来了,下面就是布局。
由于希望是紧挨着键盘的,所以需要监听键盘的弹出事件,这里使用了NSNotificationCenter来监听键盘弹出事件。不然的话可以考虑
- (void)viewDidLayoutSubviews来布局:
1
2
3
4
5
6
7
8
9
10
11
12
13
14
15
16
17
18
19
20
21
22
23
24
25
26
27
28
29
30
31
32
33
34
35
36
37
38
39
40
41
42
43
44
45
46
47
48
49
50
51
52
53
54
55
56
57
58
59
60
61
62
63
64
65
66
67
68
69
70
71
72
73
| - (void)keyboardWillShow:(NSNotification *)notification
{
// Extract the keyboard height from the notification's userInfo dictionary
CGRect keyboardFrame = [notification.userInfo[UIKeyboardFrameEndUserInfoKey] CGRectValue];
CGFloat keyboardHeight = keyboardFrame.size.height;
CGFloat safeLeft = 0;
CGFloat safeRight = 0;
UIDeviceOrientation orientation = [[UIDevice currentDevice] orientation];
if (orientation == UIDeviceOrientationLandscapeLeft)
{
if (@available(iOS 11.0, *))
{
UIEdgeInsets safeAreaInsets = UIApplication.sharedApplication.keyWindow.safeAreaInsets;
NSLog(@"safeAreaInsets: %@", NSStringFromUIEdgeInsets(safeAreaInsets));
// Bangs are on the left
safeLeft = safeAreaInsets.left;
}
}
else if (orientation == UIDeviceOrientationLandscapeRight)
{
if (@available(iOS 11.0, *))
{
UIEdgeInsets safeAreaInsets = UIApplication.sharedApplication.keyWindow.safeAreaInsets;
NSLog(@"safeAreaInsets: %@", NSStringFromUIEdgeInsets(safeAreaInsets));
// Bangs are on the right
safeRight = safeAreaInsets.right;
}
}
CGRect screenRect = [[UIScreen mainScreen] bounds];
CGFloat screenWidth = screenRect.size.width;
CGFloat screenHeight = screenRect.size.height;
CGFloat marginY = 20;
CGFloat marginX = 20;
CGFloat marginOfItem = 5;
CGFloat buttonWidth = 60;
CGFloat itemMarginY = 5;
// Position text field
CGFloat textFieldX = marginX;
CGFloat textFieldY = screenHeight - keyboardHeight - self.textHeight - itemMarginY;
CGFloat textFieldWidth = screenWidth - marginX - marginOfItem - buttonWidth - marginOfItem - buttonWidth - marginX;
NSLog(@"safeLeft: %f", safeLeft);
NSLog(@"safeRight: %f", safeRight);
if (safeLeft > 0 && safeRight == 0)
{
// Bangs are on the left
textFieldX = marginX + safeLeft;
textFieldWidth = screenWidth - marginX - marginOfItem - buttonWidth - marginOfItem - buttonWidth - marginX - safeLeft;
}
else if (safeLeft == 0 && safeRight > 0)
{
// Bangs are on the right
textFieldWidth = screenWidth - marginX - marginOfItem - buttonWidth - marginOfItem - buttonWidth - marginX - safeRight;
}
self.textField.frame = CGRectMake(textFieldX, textFieldY, textFieldWidth, self.textHeight);
// Position OK button
CGFloat okButtonX = CGRectGetMaxX(self.textField.frame) + marginOfItem;
self.okButton.frame = CGRectMake(okButtonX, textFieldY, buttonWidth, self.textHeight);
// Position Cancel button
CGFloat cancelButtonX = CGRectGetMaxX(self.okButton.frame) + marginOfItem;
self.cancelButton.frame = CGRectMake(cancelButtonX, textFieldY, buttonWidth, self.textHeight);
// Position background button
CGFloat backgroundButtonHeight = screenHeight - keyboardHeight - self.textHeight - itemMarginY;
self.backgroundButton.frame = CGRectMake(0, 0, screenWidth, backgroundButtonHeight);
}
|
当键盘即将在iOS设备上显示时调用该方法。从通知的用户信息字典中提取键盘的高度,并使用它在屏幕上定位自定义文本字段视图和两个按钮。
该方法首先检查设备的方向,并确定刘海是在屏幕的左侧还是右侧。如果刘海在左边,该方法会调整文本字段的位置和宽度,以考虑屏幕左侧的安全区域。如果刘海在右边,该方法会调整文本字段的宽度,以考虑屏幕右侧的安全区域。
然后根据屏幕的大小、键盘的高度以及各种边距和项目大小来计算文本字段和按钮的位置。相应地设置文本字段的框架和按钮。
上面就完成了一个简单的自定义的文本输入框类。
然后在原本的UE的创建弹窗的地方进行修改。
头文件中:
1
2
3
4
5
6
7
8
9
10
11
12
13
14
15
| @interface SlateTextField : UIAlertController
{
TWeakPtr<IVirtualKeyboardEntry> TextWidget;
FText TextEntry;
bool bTransitioning;
bool bWantsToShow;
NSString* CachedTextContents;
NSString* CachedPlaceholderContents;
FKeyboardConfig CachedKeyboardConfig;
#pragma region (ios keyboard input)
CustomTextFieldViewController* AlertController;
#pragma endregion
}
|
源文件中:
1
2
3
4
5
6
7
8
9
10
11
12
13
14
15
16
17
18
19
20
21
22
23
24
25
26
27
28
29
30
31
32
33
34
35
36
37
38
39
40
41
42
43
44
| if(AlertController == nil && !bTransitioning && TextWidget.IsValid())
{
AlertController = [[CustomTextFieldViewController alloc] init];
// ... 省略部分代码
// 原本的okAction和cancelAction是UIAlertAction类型,这里无法直接使用,直接绑定到了自定义的方法上
AlertController.okAction =
^{
if ([AlertController respondsToSelector:@selector(dismissViewControllerAnimated: completion:)])
{
bTransitioning = true;
[AlertController dismissViewControllerAnimated : YES completion : ^(){
bTransitioning = false;
[self updateToDesiredState];
}];
UITextField* AlertTextField = AlertController.textField;
TextEntry = FText::FromString(AlertTextField.text);
AlertController = nil;
FIOSAsyncTask* AsyncTask = [[FIOSAsyncTask alloc] init];
AsyncTask.GameThreadCallback = ^ bool(void)
{
if(TextWidget.IsValid())
{
TSharedPtr<IVirtualKeyboardEntry> TextEntryWidgetPin = TextWidget.Pin();
TextEntryWidgetPin->SetTextFromVirtualKeyboard(TextEntry, ETextEntryType::TextEntryAccepted);
}
// clear the TextWidget
TextWidget = nullptr;
return true;
};
[AsyncTask FinishedTask];
}
else
{
TextWidget = nullptr;
UE_LOG(LogTemp, Log, TEXT("AlertController didn't support needed selector"));
}
};
// ... cancelAction同上
}
|
这样就完成了修改,可以在iOS设备上使用自定义的文本输入框了。
其实github上有很多关于iOS的alert的自定义开源项目,不过objective-c的.m文件不能在UE4中直接使用,并且狠毒哦项目原本是用来进行直接的iOS的应用开发的,会写的比较完善和复杂,有需要的话可以参考,这里就简单实现了一下。